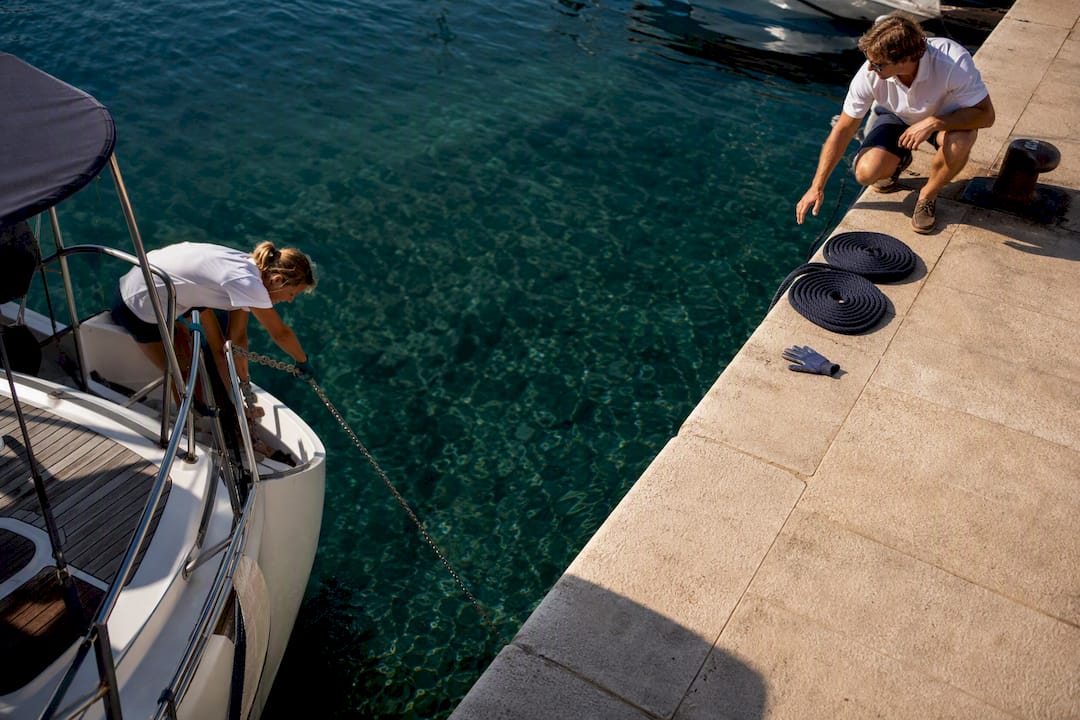
Med mooring, or stern-to mooring, means backing your boat into a berth so the stern faces the quay while the bow stays held by either your anchor or a marina-supplied lazy line. Those are the only two accepted methods. The single most important safety rule before you get within four boat lengths of the harbor wall: fenders down, crew briefed on their roles, and a clear plan to abort if the approach goes wrong.
TL;DR:
- Use proper scope based on water depth, adjusting from three to four boat lengths and ready to abort if the approach is unsafe.
- Confirm whether the harbor mandates anchor-based or lazy-line stern-to mooring and prepare the relevant gear early before approaching.
- Practice handling prop walk and wind conditions, making small adjustments and avoiding forced maneuvers to prevent damage or unsafe situations.
- Secure lines with proper tension and chafe protection, and avoid rushing the final securing process to prevent mistakes or line failure.
- Focus on patience and readiness to reset the approach if conditions or technique are suboptimal, as repeated attempts are safer and more cost-effective.
Table of Contents
- Why Sailors Use the Med Mooring Technique
- What to Prepare Before You Approach the Quay
- How to Med Moor Using Your Anchor
- How to Med Moor Using a Lazy Line
- Handling Wind, Prop Walk, and Difficult Approaches
- Finishing Strong: Securing, Chafe, and Leaving the Berth
- Quick Med Mooring Checklist
- What Most Guides Get Wrong About Med Mooring
- Sources
Why Sailors Use the Med Mooring Technique
Mediterranean harbors pack boats in tight, and stern-to mooring lets a marina fit far more vessels along a given stretch of quay than a side-tie ever could. The region’s minimal tidal range also makes it practical. There’s no six-foot tide to fight, so a stern line set at low water stays roughly as tight at high water. That’s a luxury Atlantic and Channel sailors don’t get.
You’ll run into two main mooring techniques for yachts once you’re actually approaching the wall:
- Anchor-based stern-to: you drop your own anchor to hold the bow while backing toward the quay, then secure stern lines ashore.
- Lazy-line (or slime-line) stern-to: the marina has already laid a mooring line on the seabed, which you retrieve and use to secure your bow instead of anchoring.
Busier harbors in Greece, Italy, and Croatia often mandate the lazy-line method specifically to stop a hundred private anchors from tangling on a crowded seabed. Quieter anchorages and less-developed quays still rely on the anchor-based approach. Check the harbor’s posted rules or radio the marina office before you assume which one you’ll be using. Getting this wrong at the last second, with fenders half-rigged and the quay twenty feet away, is how mistakes happen.
What to Prepare Before You Approach the Quay
Every clean Med mooring starts well before you’re anywhere near the berth. Rig your gear early and assign roles clearly, because there’s no time to sort out who does what once you’re backing toward a stone wall with a crowd watching.
- Fenders: rig at least two per side at deck height, positioned at the widest point of your beam and again near the stern quarters. Add a horizontal fender board if the quay has an uneven edge.
- Stern lines: flake and coil each one so it’s ready to throw or hand off; know which crew member takes port and which takes starboard.
- Windlass check: confirm it runs smoothly in both directions and that your chain is flaked cleanly in the locker, not piled in a heap that will jam mid-drop.
- Chain marks: look for colored ties or paint marks at regular intervals so you can count scope as it runs out.
- Gloves: keep a pair within reach for anyone handling a lazy line, since the line’s underwater length is usually crusted with barnacles.
- Command structure: one voice gives orders from the helm; everyone else executes and reports back, nothing more.
Pro Tip: Practice the hand signal for “more chain” and “hold” before you leave the anchorage that morning. Shouting over wind and diesel noise at the crucial moment rarely works.
How to Med Moor Using Your Anchor
Anchor-based mooring is the classic version of the med mooring technique, and it rewards patience over speed. Start with a drive-by along the quay to size up your gap, spot underwater obstructions, and pick your target berth.
Once you’ve settled on your approach vector, position the bow roughly perpendicular to your intended stern line and lower the anchor until it’s near the seabed rather than dropping it in one go. Pausing here lets the wind swing your bow into alignment, a trick that keeps you from fighting the helm during the final reverse approach. When you’re lined up, begin reversing steadily while paying out chain.
A standard guideline is to let out chain equal to several boat lengths, adjusted for depth, while watching for neighboring chains so you don’t cross someone else’s rode on the way in. You’ll feel the anchor start to bite as tension builds on the chain. That’s your cue to slow the reverse and let a crew member step ashore or hand off the windward stern line first, then the leeward one.
- Snub the chain gently once both stern lines are on, rather than yanking it tight.
- Balance final tension between the chain and the stern lines so no single point carries all the load.
- If the boat swings off line, the anchor drags, or you’re crossing another vessel’s chain, abort and reset. Experienced skippers try again rather than force a bad approach, and that habit saves more topsides than any amount of fendering.
Shallower berths call for less scope than the standard three to four boat lengths; deeper water calls for more. Adjust before you commit, not after the anchor is already down.
How to Med Moor Using a Lazy Line
The lazy-line version of Med mooring skips the anchor entirely. A permanent mooring line runs from a fixed point on the seabed to a lighter pickup line, or “slime line,” that floats near the surface for you to grab as you back in.
- Spot the lazy line as you approach and have a crew member ready with a boat hook, not bare hands, to lift it from the water.
- Reverse into the berth as you would for anchor mooring, and secure stern lines loosely to the quay first so the boat doesn’t drift while you work the bow.
- Engage forward gear gently to walk the boat up the lazy line, feeding it hand over hand until the heavier main mooring line comes within reach.
- Secure that heavy line to your bow cleat, then go back and properly tension both stern lines.
Catamarans usually have two lazy lines, one for each bow, which means two crew members working simultaneously rather than one. Single-engine monohulls need slightly more patience walking the line forward, since there’s less fine control than a twin-engine boat offers.
Pro Tip: Wear gloves every time you handle a lazy line. The submerged sections collect barnacles and mussels that will cut unprotected hands fast, and rinsing the line off before hauling it aboard saves your deck from a mess.
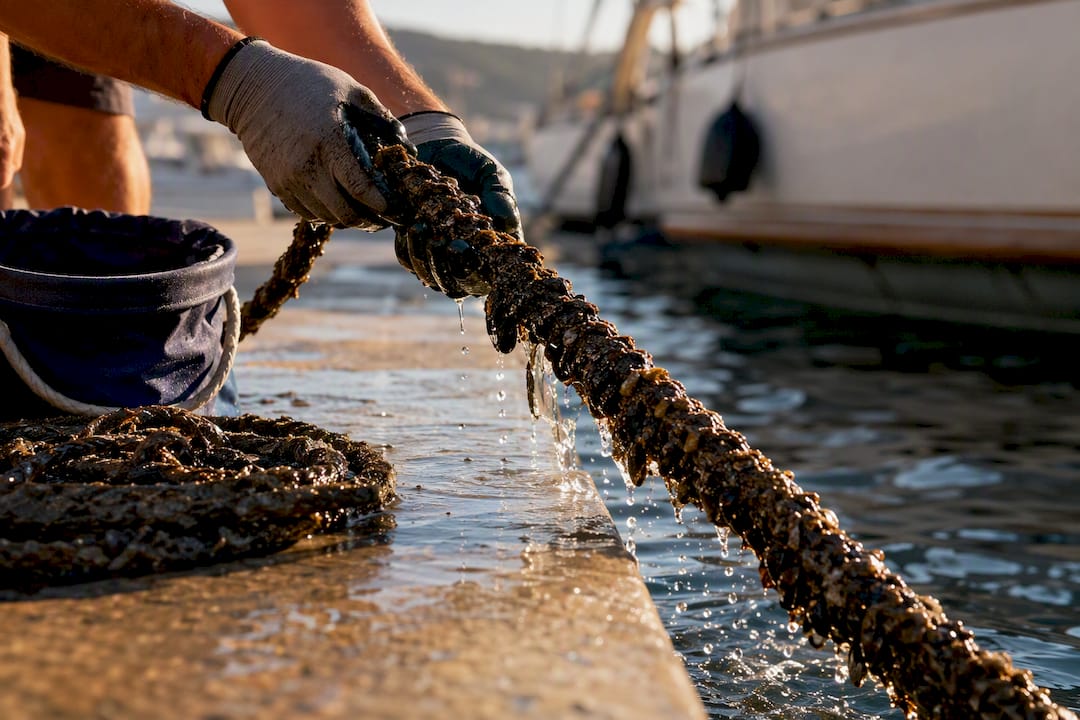
The most common mistake is pulling the lazy line the wrong direction, which just drags the heavy main line further away instead of bringing it closer. If it’s not coming easily, stop and check which end you’re actually holding.
Handling Wind, Prop Walk, and Difficult Approaches
Prop walk is the sideways kick your stern takes when you shift into reverse. On most single-engine boats it pulls the stern to one side predictably, and knowing which way your boat kicks before you’re in a tight berth matters more than any other single skill in this whole maneuver. Practice in open water first, then compensate with helm angle the moment you shift astern.
Wind changes the whole calculation depending on where it’s hitting you:
- Wind on the bow pushes you off the quay as you reverse, so approach with slightly more speed than usual to hold a straight line.
- Wind on the stern tries to push you into the berth faster than you want, so use short bursts astern and let the bow drift down gradually rather than fighting it constantly.
- Wind abeam is the hardest case; crab into the wind slightly on your approach vector so the drift lines you up rather than pushes you past your slot.
Keep stern lines loose until the bow is genuinely secured, whether that’s the anchor set or the lazy line’s heavy end made fast. A short nudge forward or astern is always safer than trying to muscle the boat sideways with the engine alone. If two attempts fail, or the wind is gusting harder than your boat’s low-speed handling can manage, postpone. Circle back out, regroup, and try again once conditions ease. A longer look at how marinas expect boats to behave on approach helps if you’re new to a particular harbor’s layout.
Finishing Strong: Securing, Chafe, and Leaving the Berth
Once both stern lines and the bow (anchor or lazy line) are attached, balance the tension between them. The stern lines should be snug but not rigid. The bow line or chain should carry enough load to keep you off the quay without snatching every time a swell rolls through.
- Use spliced eyes on your mooring lines where you can. Splices distribute load more evenly than knots and hold up better over a season of use.
- Wrap chafe guards or split hose around any line running through a fairlead or cleat edge.
- Check your passerelle or gangplank is stable and angled correctly before anyone steps ashore.
Pro Tip: A ceramic coating on your hull and topsides makes it noticeably easier to wipe off the grime that fenders and dock lines leave behind after a season of stern-to berths.
When you leave, ease the stern lines first, engage forward gently, and recover the lazy line or raise anchor as you clear the berth. Keep watching your neighbors’ chains the entire time. A dragged anchor on the way out causes just as much chaos as a bad approach on the way in.
Quick Med Mooring Checklist
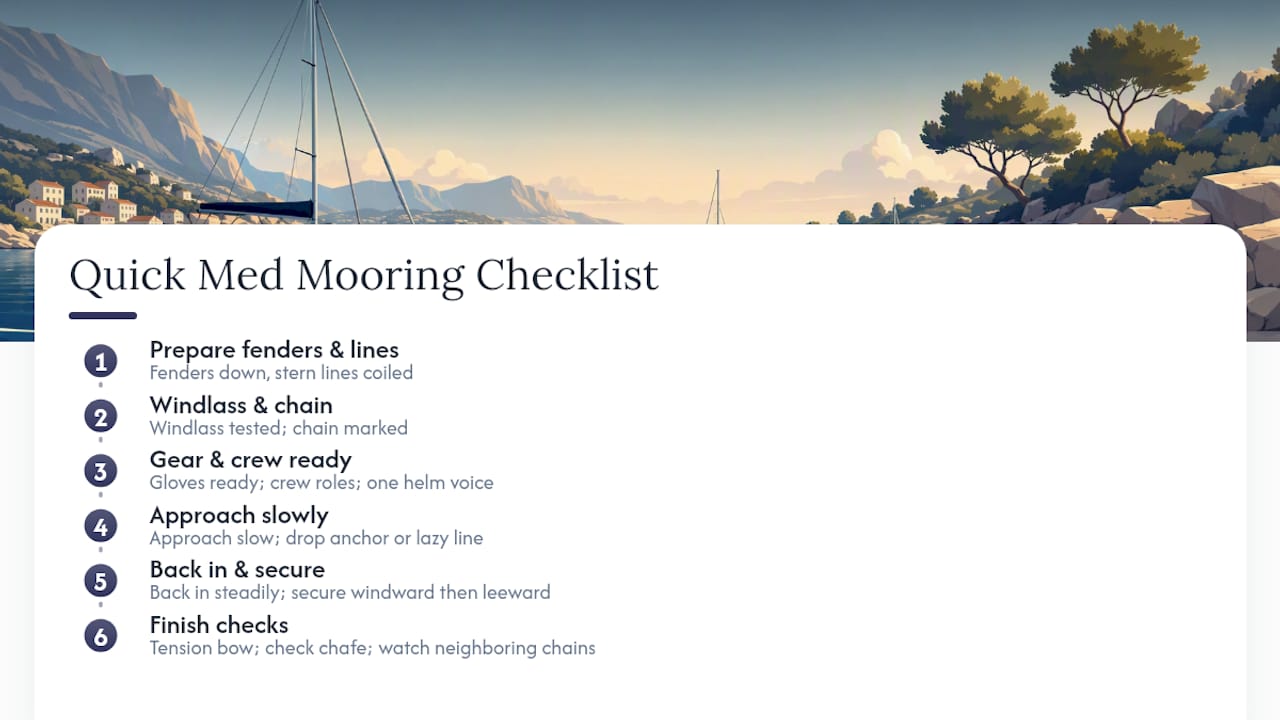
Fenders down, stern lines coiled, windlass tested, chain marked, gloves ready, crew roles assigned, one voice on the helm. Approach slow with steerage, drop anchor or spot the lazy line, back in steadily, secure windward stern line first, then leeward, then tension the bow. Check chafe guards. Watch neighboring chains going in and coming out.
If you’d rather let a professional skipper handle every one of these steps while you enjoy the anchorage, SailArmada’s private sailing charters come with experienced crew who do this maneuver daily across Greek, Italian, and Croatian harbors. For gear you’ll want aboard regardless of who’s driving, our guide to shopping for a week of sailing covers the fenders, gloves, and line protectors worth packing.
What Most Guides Get Wrong About Med Mooring
Most Med mooring guides treat the maneuver as a single dramatic moment: the reverse approach, the tense seconds before the stern kisses the quay. That’s the least useful place to focus.
The conventional advice on chain scope, drop it at three to four boat lengths and pay out while reversing, is sound, but it’s presented as a rule rather than a starting point. Depth changes everything. A shallow harbor needs less scope than a deep one, and sailors who treat the guideline as gospel rather than a baseline end up either dragging or overscoping into someone else’s swing room.
What matters most isn’t confidence at the helm. It’s the willingness to abort a bad approach and try again, something experienced skippers do routinely and newer sailors resist because it feels like failure. It isn’t. A second attempt costs you five minutes. A botched first attempt costs you a fiberglass repair bill and a very public audience.
— Sail
Sources
- Med mooring masterclass: how to moor with perfect technique
- Med mooring made easy
- How to moor your yacht — and how not to